Difficulty: Medium
Here we will cover how to add a preview of your product image on your checkout page in your Woocommerce store. Adding a product image preview at checkout is not that complicated but includes adding code to functions.php and adding some custom CSS code to your theme.
Table of Contents
TLDR
File: Functions.php

add_filter( 'woocommerce_cart_item_name', 'woowiki_product_image_on_checkout', 10, 3 );
function woowiki_product_image_on_checkout( $name, $cart_item, $cart_item_key ) {
    //Returns if not a checkout page
    if ( ! is_checkout() ) {
        return $name;
    }
    //Gets the product
    $_product = apply_filters( 'woocommerce_cart_item_product', $cart_item['data'], $cart_item, $cart_item_key );

    //Gets the product thumbnail
    $thumbnail = $_product->get_image();

    //Adding a wrapper for image and some inline css
    $image = '<div class="ts-product-image" style="display: inline-block; padding-right: 7px; vertical-align: middle;">'
                . $thumbnail .
            '</div>';

    //Combines image and title of product to return
    return $image . $name;
}
TLDR
File: Additional CSS under Theme editor in Appearance
.product-name{
display:flex;
}
.ts-product-image img{
height:auto;
width:100%;
}Adding product image at checkout
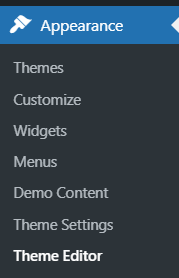
To add a product image at your checkout page first navigate to your admin interface and then go to Appearance and then under Appearance select Theme Editor.
After navigating there you will see a window like this one below. In there select Theme Functions (functions.php) and then at the end put the code below. This will check if a person is on a checkout page and if he is it will grab the product and the product thumbnail. Then it will add a wrapper for the image that it got and style it using some inline CSS.
add_filter( 'woocommerce_cart_item_name', 'woowiki_product_image_on_checkout', 10, 3 );
function woowiki_product_image_on_checkout( $name, $cart_item, $cart_item_key ) {
    //Returns if not a checkout page
    if ( ! is_checkout() ) {
        return $name;
    }
    //Gets the product
    $_product = apply_filters( 'woocommerce_cart_item_product', $cart_item['data'], $cart_item, $cart_item_key );

    //Gets the product thumbnail
    $thumbnail = $_product->get_image();

    //Adding a wrapper for image and some inline css
    $image = '<div class="ts-product-image" style="display: inline-block; padding-right: 7px; vertical-align: middle;">'
                . $thumbnail .
            '</div>';

    //Combines image and title of product to return
    return $image . $name;
}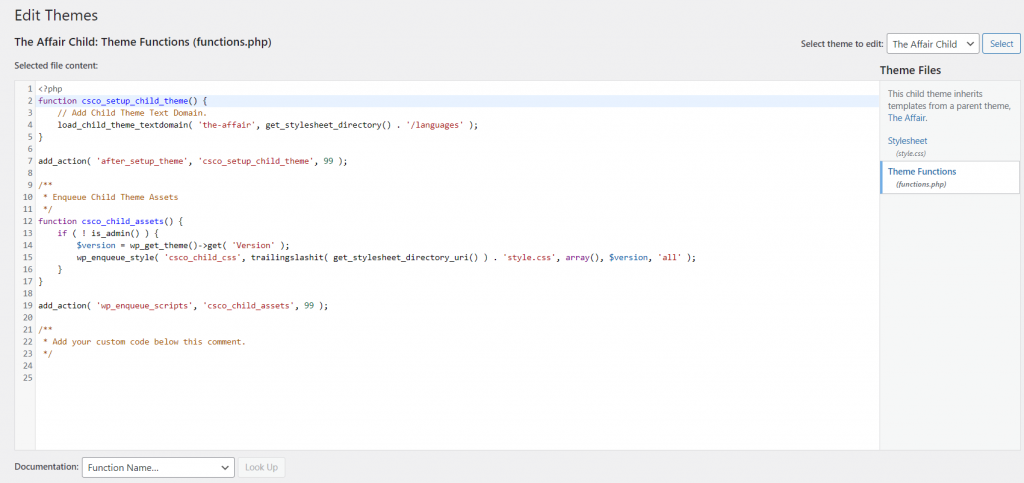
Click on button bellow to update your file/save changes.
Styling product image at checkout
After successfully adding this code to the functions.php we will see now that the product thumbnail shows on the checkout page. But it shows on a very ugly way. That’s because we didn’t add any style to it. We will accomplish that by adding some CSS code.
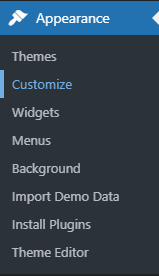
To style product image we need to go under Appearance and select Customize. It will open for a new webpage where you can customize all the different options for your site. But we are interested just for CSS. So in the newly opened webpage search for the option Additional CSS. It’s usually at the bottom.
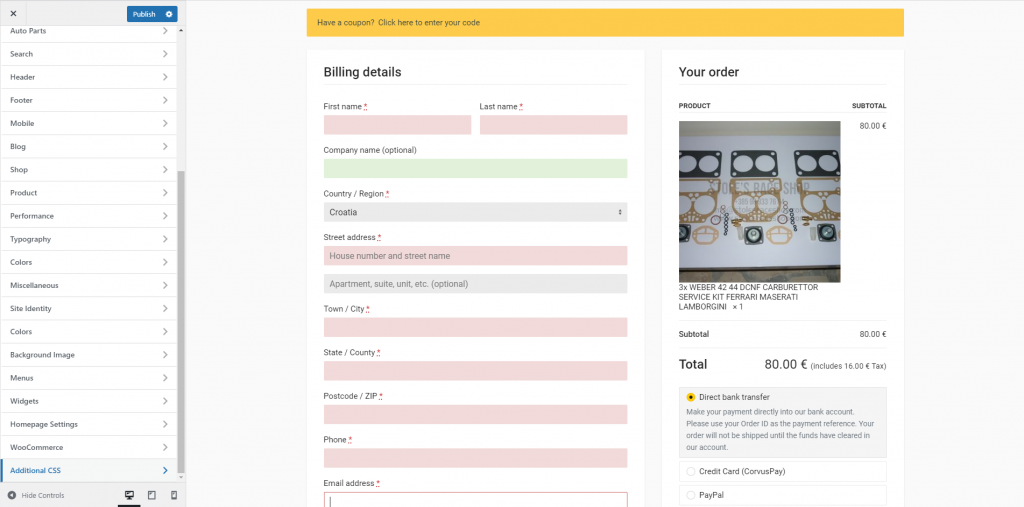
In additional CSS add this code below and your product image should be looking much better.
.product-name{
	display:flex;
}
.ts-product-image img{
	height:auto;
	width:100%;
}
Finally don’t forget to save your additional CSS code by pressing publish button on the top.
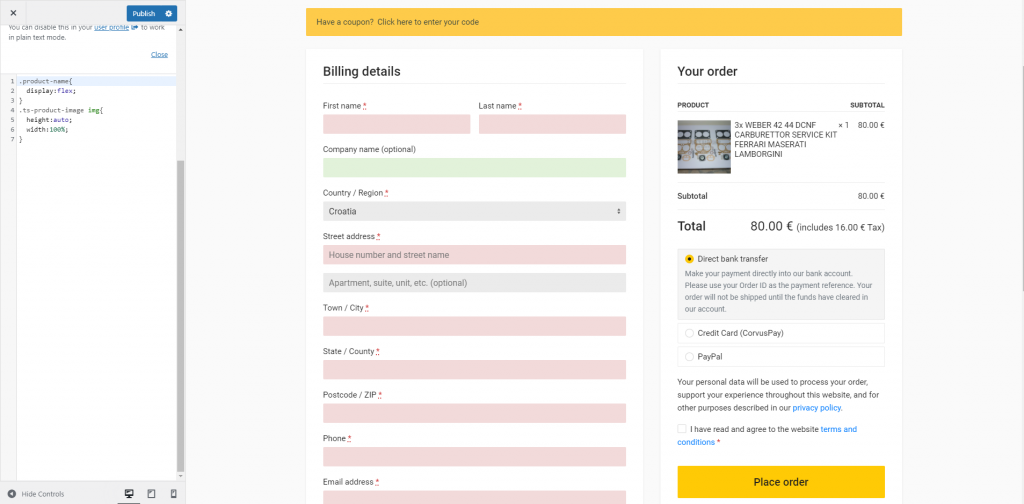
Below is the final result of this simple CSS code. We can see that the preview looks much better than previously.